Product Development
How to Approve Fabric Colours Before Bulk Clothing Production
A practical six-step method for reviewing lab dips, checking component matches and recording a colour decision that production teams can use.
Short Answer
To approve fabric colours before bulk clothing production, agree one colour standard, review labelled lab dips under controlled lighting, and record a clear decision against the intended material and finish. A lab dip is a small dyed fabric trial used to develop the shade. Check how the selected colour works with the garment’s other components, then agree how production fabric will be compared with the approved reference before it is used.
Start by naming one production colour target
Colour inspiration and colour approval have different jobs. Pantone’s Spring/Summer 2027 New York report, dated 10 September 2026, describes a mix of understated and expressive shades. That is useful seasonal design context, not a prediction of sales for your collection or a production standard for a particular fabric.
Choose the colour you want to develop, then identify an agreed physical reference or a properly specified digital colour standard, meaning measured colour data used as the target. Record its system, code or sample identity and who holds the reference. A screenshot labelled “sage” leaves both the target and the viewing conditions uncertain.
State which material the target applies to. The main body, rib cuffs and zipper tape may need separate submissions. Say whether the aim is a close visual match or a deliberate contrast. A tonal design, using closely related shades, can fail because each supplier has made a reasonable but different interpretation of the same informal brief.
Put the reference in your factory-ready tech pack, the document describing the garment specification. Keep one current target available to the people reviewing the colour. If you change it, identify the new version explicitly so an earlier approval does not remain in circulation.
Step 1: request lab dips on the intended fabric
Ask the supplier to identify the fabric construction, fibre composition, colour target, finish and submission version. Request that each option is labelled individually. The label should let you connect a physical cutting to the supplier’s message without guessing which photograph shows which option.
Confirm whether the trial represents the final material and finishing route. A colour developed on substitute fabric may be useful during discussion, but it should not silently become approval of the intended production fabric. If something is temporary, record what still needs confirmation.
Use the lab dip to answer a narrow question: which submission, if any, meets the colour target under the agreed assessment conditions? Keep the wider fabric decision separate. Our tracksuit fabric guide covers composition, construction and performance choices; a successful shade match does not approve those requirements.
If the fabric is already available in stock
Ask which actual stock colour and material reference is being offered and obtain a representative cutting. Agree whether you are accepting that existing shade or asking for a new development. Do not request a new dyeing exercise when the commercial decision is simply whether the available stock colour works.
If the garment will be washed or treated after sewing
Identify the stage at which appearance will be approved. Ask for evidence of the relevant finished result rather than judging only an untreated cutting. Keep the before- and after-treatment references clearly separated when both are needed.
Step 2: compare samples in agreed viewing conditions
Arrange for a controlled visual assessment instead of making the final decision from a phone photograph. A light booth is a cabinet that provides specified lighting for colour comparisons. The buyer and supplier should agree which light sources and viewing procedure are relevant to the product.
The Association for Contract Textiles colour guidelines recommend agreed primary and secondary light sources and consistent sample positioning. These are voluntary guidelines developed for furnishing textiles, not an apparel standard or a set of compulsory factory limits. Their useful principle here is consistency: both sides need to know how the comparison was made.
Keep the submitted sample and reference alongside one another in the same orientation. Control the background and avoid competing room light where the booth procedure requires it. Konica Minolta’s visual-evaluation guidance explains how surrounding colours, viewing angle and lighting can alter the assessment.
If you cannot carry out the agreed assessment yourself, ask the supplier or a suitable colour laboratory to provide the comparison and its conditions. Use photographs to communicate sample identity and comments. Do not treat an ordinary photo exchange as equivalent to a controlled colour evaluation.
Step 3: check for changes between light sources and components
Compare the sample with the target under the agreed primary light, then the additional agreed light source. Metamerism is when two samples appear to match under one light source but differ under another. Konica Minolta describes this as a reason to assess colour under more than one controlled light source.
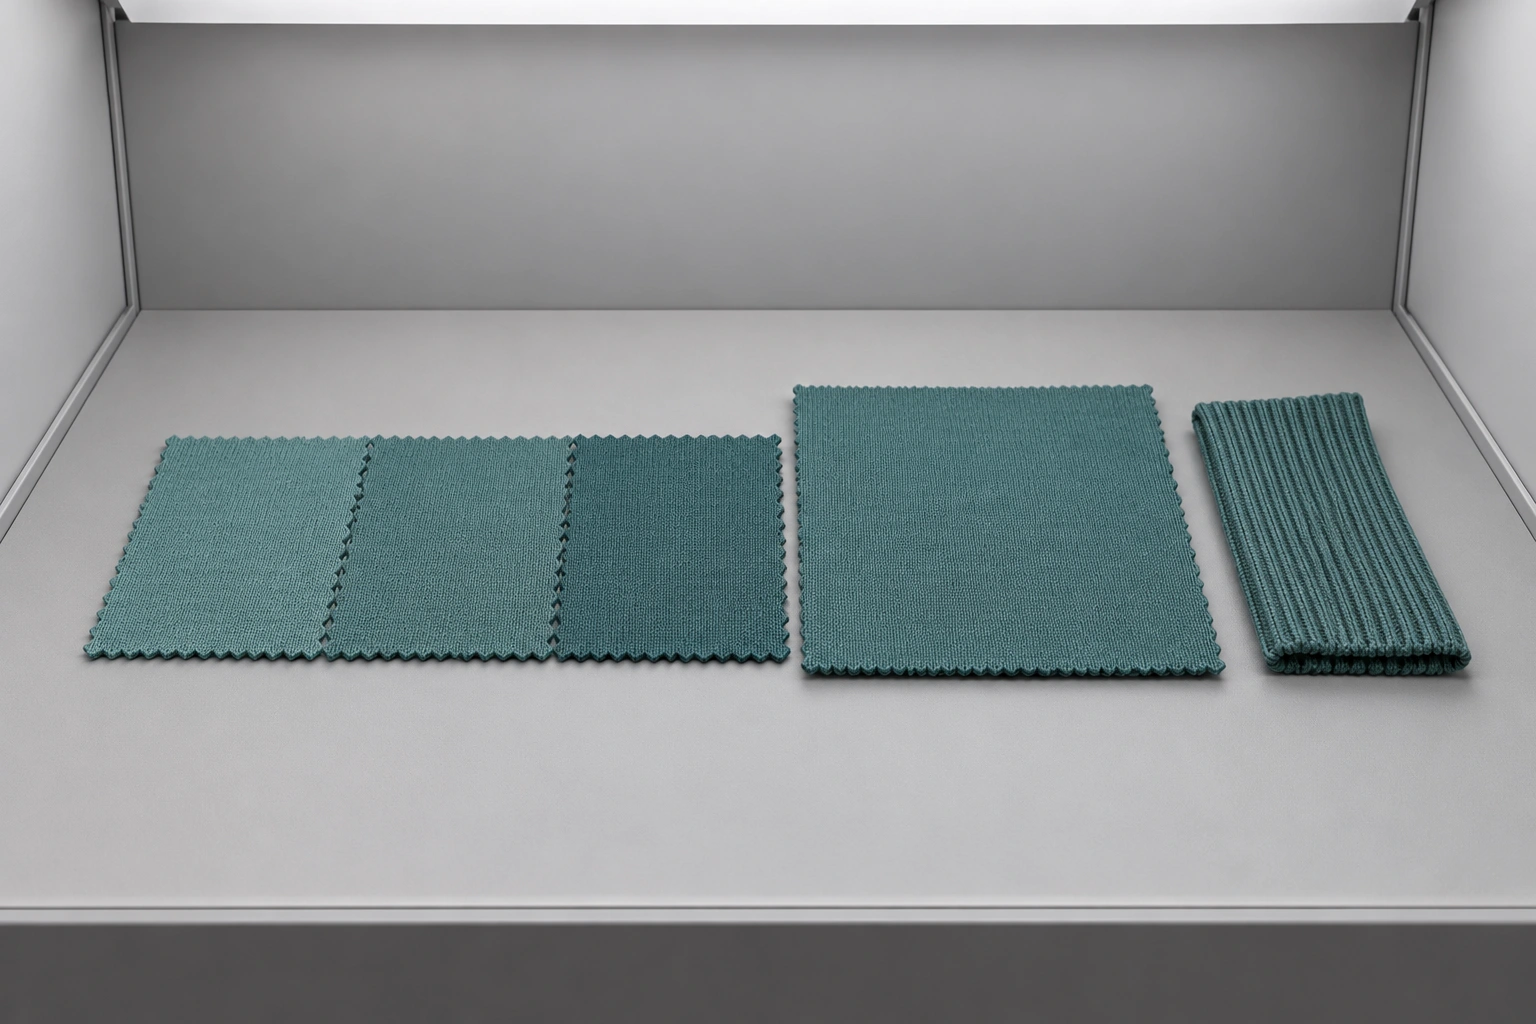
Also assemble the components that will sit next to one another. A body fabric, rib and zipper tape can look acceptable individually yet create an unwanted difference when combined. Judge the relationship on the intended product, distinguishing a deliberate contrast from an attempted match.
For example, imagine a hypothetical teal top whose body and rib agree under the primary light but separate visibly under the secondary light. The next action is to identify which component pair failed and ask the colour specialist to investigate. Approving the body fabric alone would leave the assembled-product question unanswered.
Record the component references and the light source associated with the finding. This gives the supplier a reproducible problem to investigate. “The set does not match” is less useful when it does not identify whether the issue is body-to-rib, top-to-trouser or sample-to-standard.
Step 4: read measurement results with the assessment method
When instrument results are part of the agreement, ask for the named standard, sample identity, measurement method and acceptance criteria with the report. A spectrophotometer measures how a material reflects light to produce colour data. Delta E is a numerical measure of colour difference; the formula and conditions matter when interpreting it.
Datacolor’s textile colour-management guide explains how measurement data and controlled visual review work together. It also notes that acceptable colour-difference tolerances depend on the material, application and customer requirements. A number without the agreed method and limit is not a complete approval result.
Ask the specialist to resolve disagreements between a measurement pass and an unacceptable visual result. Check whether the fabric, reference and assessment conditions are the ones intended for the order. Do not choose whichever result is more convenient or assume a universal Delta E limit applies to every garment.
Keep requests proportionate to the job. A buyer does not need to prescribe dye recipes or purchase laboratory equipment to ask for a documented decision. Establish who performs the assessment, what evidence you receive and who has authority to accept an exception.
Step 5: send one precise colour decision
Use three possible outcomes: approved for the stated scope, resubmit with a specific correction, or hold pending missing evidence. Identify the exact submission and the reference used. If a material or component is not included, leave that approval visibly open.
Here is a hypothetical comment to adapt: “Submission B for fabric reference F-17 is not approved. Against target T-04 under our agreed primary light, it appears darker; the secondary-light comparison is still required. Please resubmit for the same finished fabric and identify the new version. Rib colour has not been approved.” These identifiers are examples, not S & H Global records or colour tolerances.
The comment separates the observed issue from an uncompleted check. It does not tell the dye house which chemicals to change. Where reliable instrument data exists, attach the report so the specialist can connect the visual comment to the measured result.
Keep the latest decision with the actual physical submission or its agreed digital record. A long message chain in which “approved” appears after several different sample photographs makes it too easy to use the wrong reference.
Step 6: agree the bulk shade check before production proceeds
Ask how the supplier will compare production fabric with the approved colour reference and which evidence is required before the material is released for use. A lab dip develops the colour; it does not inspect every roll or prove that later material will match.
Agree how production-lot identity, representative cuttings and any accepted variation will be recorded. A lot is an identified production batch. If a proposed shade range is used, ask for physical or documented examples of what is acceptable. Do not assume that a vague statement such as “normal variation” has the same meaning to both parties.
If a difference appears, keep the affected material identified and request a specific decision before it is mixed into garments. Investigate the extent of the difference rather than approving all material from one favourable cutting. Our bulk-versus-sample guide covers the wider response when delivered goods differ from the agreed reference.
If you are developing a collection with S & H Global, review our manufacturing process, then share the garment brief, intended fabrics, colour references and existing approval requirements. Confirm which submissions and checks can be supported for the specific order. This workflow does not imply that S & H Global owns particular colour-measurement equipment or applies a universal shade tolerance.
Related resources
Continue planning
Read next